If you’ve ever admired a beautifully engraved wood sign, a personalized cutting board, or a charcuterie board with a crisp logo carved right into the surface, there’s a good chance a CNC machine did the heavy lifting. CNC engraving has become one of the most exciting tools in a custom woodworker’s shop — and for good reason. It’s precise, repeatable, and capable of pulling off details that would take a skilled hand carver hours to achieve.
But how does CNC engraving actually work? And more importantly — what can you put on it?
Whether you’re a DIY-curious maker trying to understand the process, or you’re looking to order a custom engraved piece and want to know what’s possible, this guide breaks it all down in plain language.
What Is a CNC Machine, Exactly?
CNC stands for Computer Numerical Control. In plain terms, it’s a machine that moves a spinning cutting tool (called a router bit or end mill) along a precise, computer-guided path to cut, carve, or engrave a material — in our case, wood.
Think of it like a printer, but instead of depositing ink onto paper, it’s removing material from a wooden surface to create texture, depth, and detail. The “printing” instructions come from a digital design file, which tells the machine exactly where to move, how deep to cut, and how fast to travel.
CNC machines have three axes of movement:
- X axis — left and right
- Y axis — front and back
- Z axis — up and down (depth of cut)
Higher-end machines can work in additional axes for more complex 3D carving, but for most CNC wood engraving projects — signs, logos, portraits, text — a standard 3-axis machine handles everything beautifully.
How the CNC Engraving Process Works, Step by Step
Understanding the full workflow helps set realistic expectations and shows why quality CNC work takes real skill — even if the machine does a lot of the cutting.
Step 1: Design Creation
Everything starts with a digital file. Depending on the project, this might be a vector graphic (like an SVG or DXF file), a high-resolution image, or a custom design built from scratch in software like Vectric Aspire, Adobe Illustrator, or AutoCAD.
This is where the design decisions happen: font choices, line weights, how deep certain elements will be carved, and how the final piece will look once finished. A good design file is the foundation of a great engraved piece.
Step 2: Toolpath Generation
Once the design is ready, it gets imported into CAM software (Computer-Aided Manufacturing). Here, the operator creates toolpaths — essentially the movement instructions for the machine. This includes:
- Which bit to use (V-bit for crisp lettering, ball nose for smooth 3D carving, flat end mill for clearing material)
- The depth of the engraving
- The speed and feed rate of the router
- The order of operations
This step requires genuine expertise. A poorly planned toolpath can blow out fine details, leave fuzzy edges, or cause the bit to catch on the wood grain in unexpected ways.
Step 3: Material Setup
The wood blank gets secured to the CNC machine’s spoilboard (a sacrificial surface that protects the machine bed). Getting the material flat, square, and properly zeroed is critical — even a millimetre of misalignment can throw off a detailed engraving.
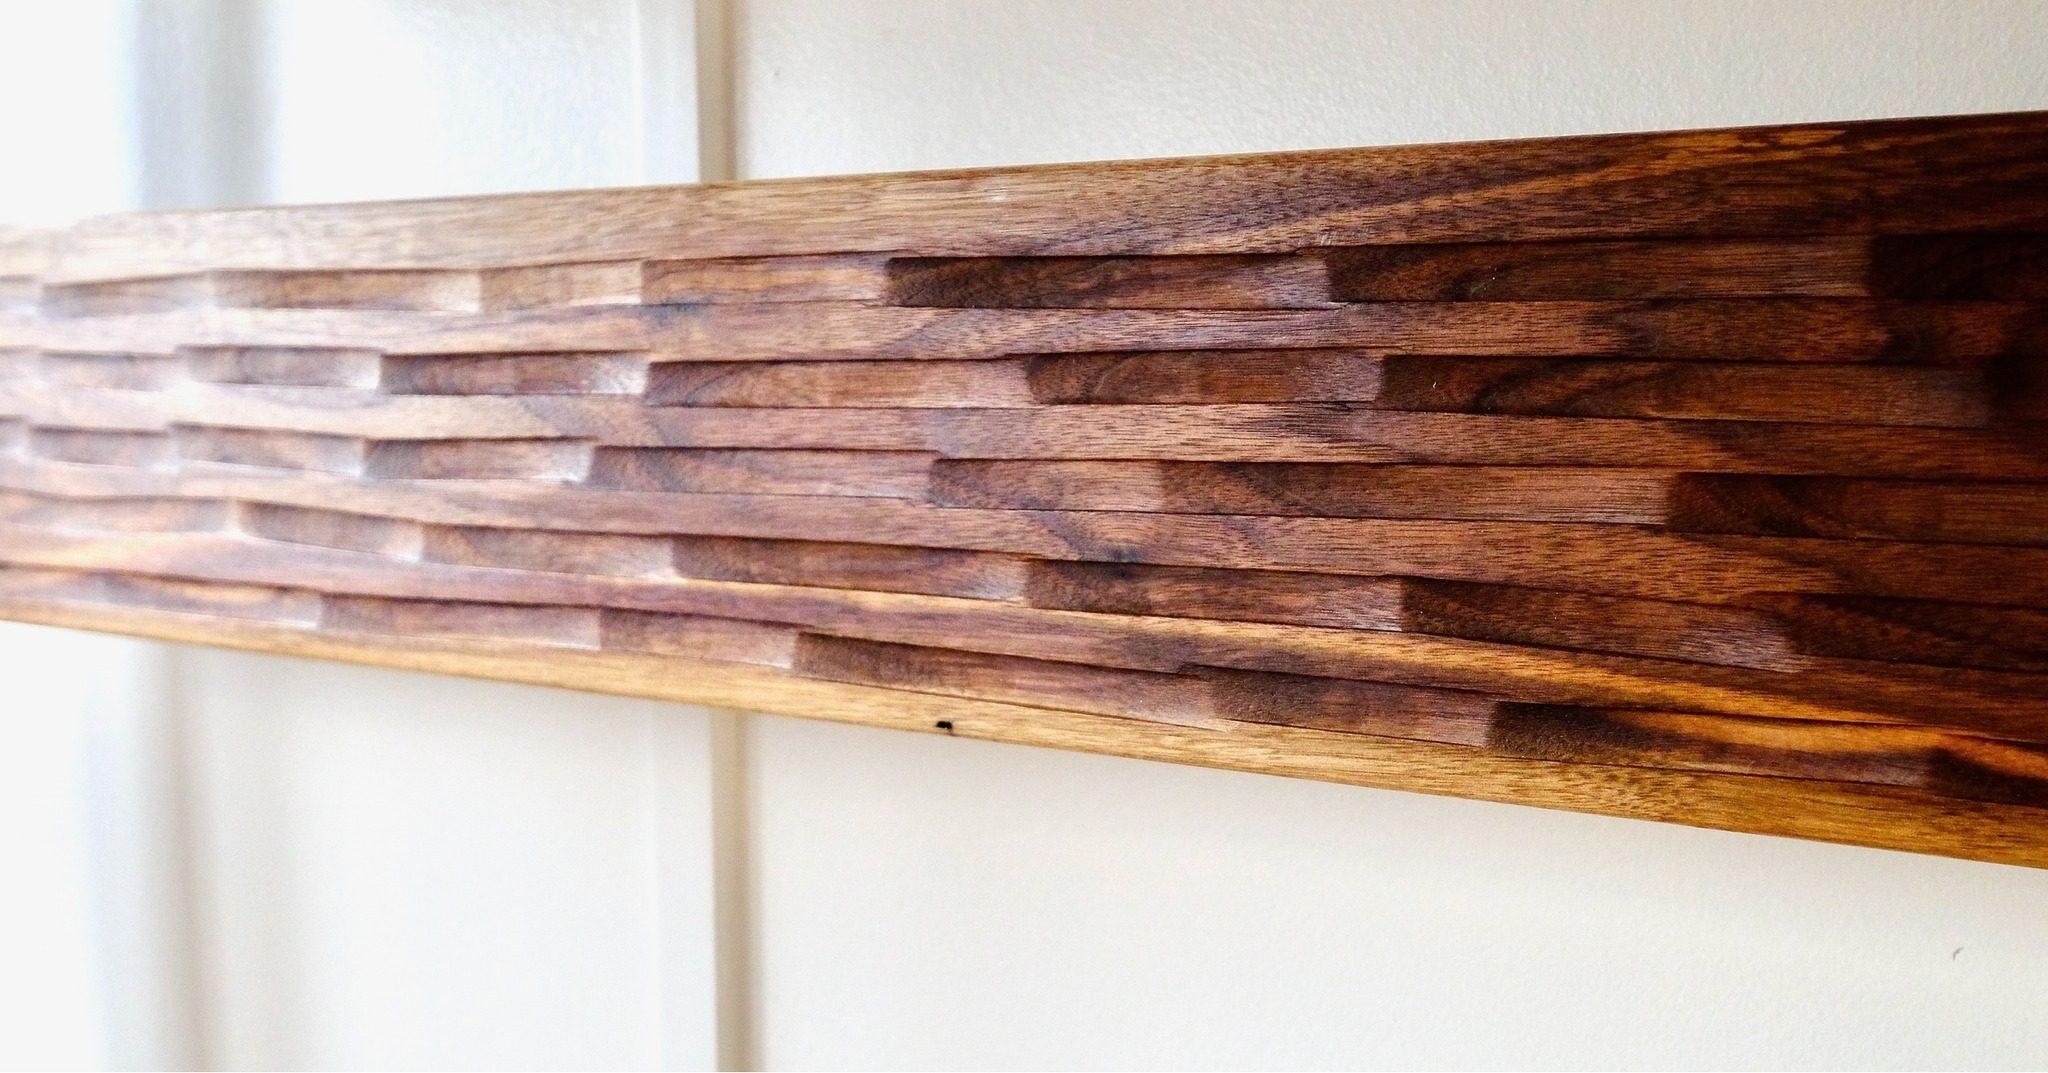
Different wood species behave differently under the bit. Hardwoods like maple and walnut hold fine detail beautifully. Softer woods like pine can be prone to fuzziness in intricate areas. Knowing your material matters.
Step 4: Running the Job
Once everything is set up, the machine runs the toolpath automatically. Depending on the complexity and size of the piece, this can take anywhere from a few minutes to several hours. The operator monitors the cut throughout, watching for any issues with the material or bit performance.
Step 5: Finishing
Fresh off the machine, an engraved piece usually needs some cleanup — light sanding to remove fuzz, compressed air to clear dust from the recesses, and sometimes a contrasting finish (like dark stain or paint) rubbed into the engraved areas to make the design pop.
The finishing stage is where a piece goes from “nice carving” to “wow.”
What Can You Actually Put on a CNC Engraving?
This is where it gets fun. The short answer is: a lot. Here’s a breakdown of the most common and most impressive options.
Text and Lettering
Custom text is probably the most popular use for CNC wood engraving. Whether it’s a family name on a sign, a wedding date on a keepsake box, or a business name on a display board, the machine can reproduce virtually any font with clean, consistent results. Serif fonts, script fonts, block letters — all fair game.
Logos and Brand Marks
If you have a business logo or a vector graphic, it can almost certainly be engraved onto wood. This is especially popular for restaurant boards, real estate gifts, corporate awards, and custom branded products. The key is having a clean vector file — a low-resolution JPEG won’t cut it (literally).
Illustrations and Line Art
Intricate illustrations, botanical drawings, geometric patterns, Celtic knots, topographic maps — these are all stunning when engraved into wood. The level of detail achievable with a sharp V-bit is remarkable.
Portraits and Photos
This one surprises a lot of people. With the right software and settings, CNC machines can engrave a halftone or relief version of a photograph into wood — creating a grayscale-style portrait with real depth and texture. These make incredibly personal gifts.
3D Relief Carving
Beyond flat engraving, CNC machines can create fully three-dimensional relief carvings — raised or recessed designs with smooth, flowing surfaces. Think carved wood panels, decorative cabinet doors, or sculptural wall art. This takes more time and more sophisticated toolpath planning, but the results are genuinely extraordinary.
What Wood Works Best for CNC Engraving?
Not all wood is created equal when it comes to engraving. Here’s a quick guide:
- Hard maple — Our go-to for fine detail work. Tight grain, holds crisp edges.
- Black walnut — Beautiful contrast between light and dark. Rich, dramatic results.
- Cherry — Smooth and consistent. Great for portrait-style engravings.
- Baltic birch plywood — Affordable, flat, and great for signs and decorative panels.
- Cedar — Rustic and aromatic, works well for larger, bolder designs.
- Pine — Budget-friendly but softer grain can create fuzziness in very fine details.
If you’re planning a custom order and aren’t sure which species is right for your project, we’re happy to help you figure it out.
Common Questions About CNC Engraving
Can you engrave on curved surfaces?
Standard 3-axis CNC machines engrave on flat surfaces. Curved surfaces (like round wine barrels or cylindrical mugs) require a rotary axis attachment. We work with both flat and cylindrical pieces here in our Innisfil shop.
How deep does the engraving go?
Typical engraving depth ranges from about 1mm to 6mm, depending on the design and the desired effect. Deeper cuts create more dramatic shadows and contrast. Shallower cuts are better for fine detail.
Can I send my own design?
Absolutely. If you have a logo, image, or concept, send it over and we’ll assess whether it’s ready to use or needs to be cleaned up as a vector file first. Reach out through our contact page and we’ll take a look.
Is CNC engraving the same as laser engraving?
No — they use completely different methods. CNC engraving physically removes material with a spinning bit, creating actual depth and texture you can feel. Laser engraving burns or vaporizes the surface, which is faster for some applications but produces a shallower, charred finish. Both have their place, but CNC engraving tends to produce more tactile, dimensional results on wood.
Why CNC Engraving Is Worth Understanding
Whether you’re considering a custom piece for your home, planning a batch of branded gifts, or just satisfying your curiosity about how the process works, understanding CNC engraving helps you ask better questions and make smarter decisions.
It’s not magic — it’s precision craft backed by good design, thoughtful material selection, and real skill in setting up and running the machine. The technology makes things possible that weren’t practical by hand. But it still takes a woodworker who cares about the outcome to make it genuinely great.
At Black Barrel Wood Co. in Innisfil, we love talking through project ideas — even ones that are still half-formed. If you’ve got something in mind, drop us a message and let’s see what’s possible.
Keywords: how CNC engraving works, CNC wood engraving, custom engraving, CNC machine process
Ready to start your own project?
Every piece is built to order in our Innisfil, Ontario studio. Reach out to discuss your vision.
Start a Project